The diagnostic steps below are designed to not damage the drive further if it's actually failing. They go from least-stressful (cable, port) to most-stressful (testing the drive itself). If you hear any unusual noises (clicking, beeping, grinding) at any point, stop and skip to the recovery section. A drive that makes noise is not a diagnostic problem.
Your external drive showed up fine last week. Today it doesn't. Maybe the file explorer doesn't see it, maybe the drive letter is missing on Windows, maybe Finder shows nothing on Mac, maybe the light on the drive is off, maybe everything seems normal but the operating system pretends the drive doesn't exist.
This is one of the most common situations we see at ADR. Sometimes the drive is fine and the problem is somewhere else. Sometimes the drive is dying. The diagnostic process below tells you which, and what to do next.
Step 1: Check the easy things first
Roughly half the "my drive doesn't work" situations turn out to be cable, port, or power issues. These are free to check and they don't hurt the drive.
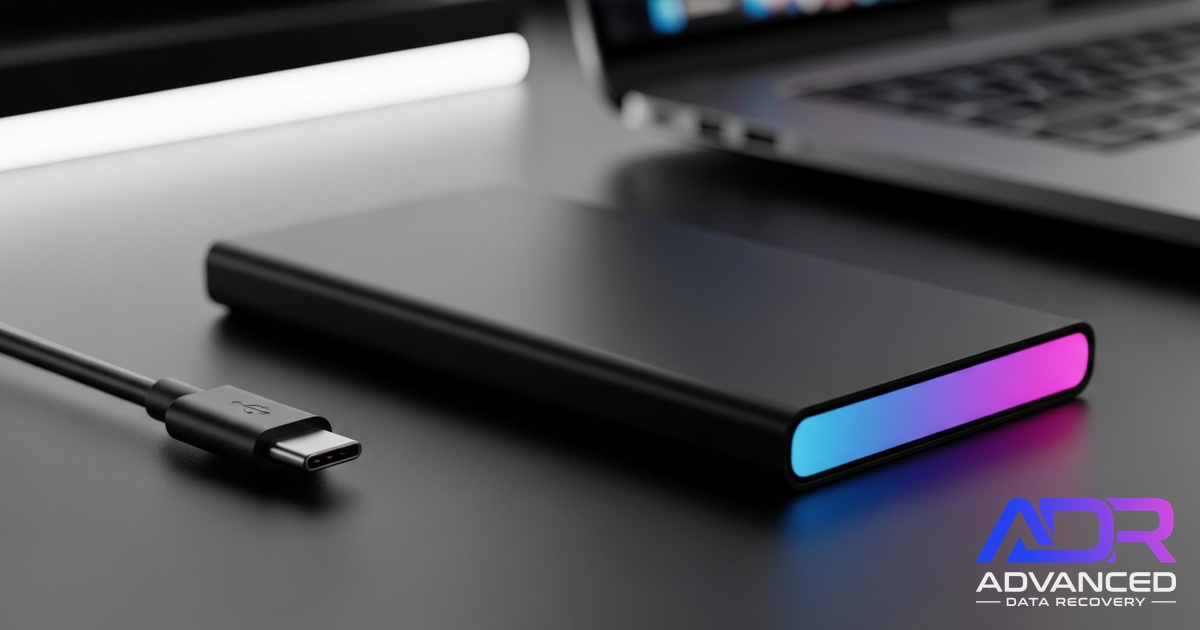
The cable
- USB cables fail silently. The cable that came with the drive may have an internal break that prevents data flow while still allowing power. If your drive's light is on but nothing shows up, suspect the cable.
- Try a different USB cable known to be a data cable, not a charge-only cable. Many third-party USB-C cables are charge-only and look identical to data cables.
- For 2.5" portable drives, try a higher-quality cable. Cheap ones often deliver insufficient power for the drive to spin up.
The port
- Try a different USB port on the same computer. Front-panel USB ports on desktops are often underpowered. Rear ports (directly on the motherboard) deliver more reliable power.
- If you've been using a USB hub, plug the drive directly into the computer instead. Hubs and the drive's power requirements can conflict.
- If you have access to another computer, try the drive there. This isolates whether the problem is the drive or the original computer.
Power
- 3.5" desktop external drives have their own power adapter. If the power brick has failed, the drive won't spin up. Power bricks are replaceable, and many drive vendors sell them.
- Listen with the drive plugged in. A healthy 3.5" drive makes a soft hum when spinning. Silence means it's not getting power, or it's failed to spin up.
- A 2.5" drive should make a faint whirring sound when first connected. No sound, no spin up.
Step 2: Software-side checks
If the drive is getting power but the OS still can't see it, the next layer of checks is operating system level. The drive might be visible at a lower level than your file manager is showing.
On Windows
- Right-click the Start button, choose Disk Management.
- Look for the drive in the lower panel, even if it's marked as "Unallocated," "RAW," or "Offline." If it appears here at all, the drive's hardware is partially working.
- If it shows up as "Offline," right-click and select "Online." This sometimes brings back a drive that lost connection during sleep.
- If it shows as "RAW" or "Unallocated," do not right-click and choose "Initialise" or "Format." Both options will make recovery harder. The drive is detectable but its partition table is damaged. This is a recoverable situation but only if you don't write to the drive.
- If it doesn't appear in Disk Management at all, open Device Manager and look under "Disk drives" or "Other devices." If you see the drive listed with a yellow warning triangle, that's a driver issue, sometimes fixable by uninstalling the device and reconnecting.
On Mac
- Open Disk Utility (Applications > Utilities).
- Click "View" > "Show All Devices." This shows the underlying disk hardware, not just mounted volumes.
- If your drive appears in the sidebar but with no volumes under it, the partition table is damaged. The drive itself is functional.
- If the drive shows as "Not initialised" or similar, do not click "Initialise." That writes a new partition table over the existing data.
- If the drive doesn't appear at all, open Terminal and run
diskutil list. This sometimes shows drives that Disk Utility's GUI doesn't. - If even
diskutil listshows nothing, the drive is not communicating at the hardware level.
If your drive appears as "RAW," "Unallocated," "Not initialised," or any similar state, do not let the operating system reformat or reinitialise it. Both Windows and Mac will offer to "fix" the drive by writing a new partition table. This is the opposite of what you want. The existing partition table contains your file system map. Overwriting it with a new empty one makes the original files much harder to find, and sometimes impossible.
Step 3: When the easy checks fail
If you've tried different cables, different ports, different computers, and the drive still doesn't show up in Disk Management or Disk Utility, the drive itself has likely failed. At this point the question stops being "how do I make it work" and becomes "how do I get my data back."
Common failure modes for external drives at this stage:
- PCB failure. The small circuit board on the bottom of the drive (the printed circuit board, or PCB) controls everything. A power surge, capacitor failure, or controller chip failure on the PCB kills the drive even though the platters and heads inside are fine. PCB swaps can sometimes recover these, but require matching firmware, not just a matching model.
- Failed bridge chip. External drives have an extra chip (the USB-to-SATA bridge) that translates between the USB cable and the drive itself. If this chip fails, the underlying drive is still healthy but the external enclosure can't talk to it. Sometimes pulling the drive out of the enclosure and connecting directly via SATA gets it working again. We do this in the workshop routinely.
- Mechanical failure. The drive is making noise (clicking, grinding, beeping) and the heads have crashed. This is the same scenario covered in our clicking hard drive guide.
- Firmware corruption. The drive's internal firmware has corrupted. Drive spins up, doesn't respond properly to commands, often goes into a busy state. This is recoverable with specialist tools that talk to the drive's diagnostic port.
- Encrypted drive with lost key. Many modern external drives (especially WD My Passport, Samsung T-series) have hardware encryption that activates by default. If the encryption module fails, the drive's platters contain encrypted gibberish that needs specialist tools to decrypt.
If your drive isn't showing up after all the checks
That's a hardware failure. Tell us what's happened, what the drive is doing, and we'll tell you what's recoverable.
What about recovery software?
This is where it gets nuanced. Recovery software (Recuva, EaseUS Data Recovery Wizard, Disk Drill, R-Studio) is genuinely useful for one specific situation: a drive that the operating system can see, but where files are missing because they were deleted, the partition was reformatted, or the file system was corrupted.
If your drive is one of these scenarios, recovery software is often the right tool:
- Drive shows up in Disk Management or Disk Utility
- You can see the drive's letter or volume name
- Files are missing or the drive appears empty
- Drive isn't making unusual noises
If your drive is none of these, recovery software won't help and can actually hurt. Specifically:
- If the drive doesn't show up at the OS level at all, no recovery software can read it.
- If the drive is making noise (clicking etc.), recovery software's repeated read attempts accelerate the damage.
- If you run recovery software's "deep scan" on a drive that's barely responding, you can push it into complete failure.
Rule of thumb: if the drive shows up in Disk Management or Disk Utility, try recovery software first. If it doesn't, stop trying and send it for professional recovery. We've seen plenty of drives that were 90% recoverable when they arrived become 20% recoverable after a customer ran scan after scan trying to coax them back.
How we approach a non-detecting drive
When an external drive arrives at ADR not showing up, the workflow looks roughly like this:
- Visual inspection. Open the enclosure, check for obvious damage to the drive or PCB. Look at capacitors for swelling, look for burn marks, check the connectors.
- Direct connection. Pull the bare drive out of the enclosure and connect it to a controlled diagnostic workstation, bypassing the USB-to-SATA bridge entirely. This alone often reveals whether the drive is healthy under the enclosure.
- Power profiling. Watch the drive's current draw as it tries to spin up. Healthy drives have a characteristic power signature. Drives with PCB issues fail at specific stages of the boot sequence.
- Firmware-level diagnosis. If the drive spins but doesn't respond to standard commands, we connect via the manufacturer's diagnostic port (every drive has one) and read the SMART data, error logs, and firmware state.
- Recovery path selection. Based on diagnosis, the right approach: PCB swap, ROM swap, firmware repair, head transplant, or platter-level work. Each has a different cost tier.
- Forensic imaging. Once the drive is talking, we image the entire drive bit-for-bit to a healthy target. Recovery happens against the image, not the original.
- File system rebuild. Mount the image, run file system reconstruction, extract your data to a new drive.
The whole process typically takes 5-15 business days depending on the failure mode and whether parts need sourcing.
Cost and tier
Non-detecting external drives usually land in one of two pricing tiers:
- Logical Recovery ($400-$950) if the drive is actually healthy (bridge chip failure, partition damage) and the data is reachable once we connect directly.
- Hardware Recovery ($1,500-$2,800) if the drive itself has failed (PCB, firmware, heads) and needs component-level work.
- Critical Recovery ($3,000+) if the drive has severe physical damage or needs cleanroom platter-level recovery.
Every job includes a free assessment. The fixed quote comes after we open the drive and confirm the failure mode. If we can't recover the data, you pay only the $150 attempt fee, never the full recovery cost.
What to do right now
If your drive isn't showing up:
- Try a different cable and a different port. If it works, you're done.
- Check Disk Management (Windows) or Disk Utility (Mac). If it appears with a damaged partition state, do not let the OS reformat or initialise it.
- If it appears at the OS level but files are missing, recovery software is the right tool.
- If it doesn't appear at all, or if it's making noise, stop trying and contact us. Each additional attempt on a failing drive can reduce what's recoverable.
The drive failed, the data didn't. The question is just whether we can reach it. In most cases, we can.